Tracking and Reviewing Text Changes using SuperTrack
This article is intended to guide Proof senders in tracking, accepting and rejecting the text changes applied to the document using SuperTrack.
This feature is only available to Publishers using the GoProof extension. Before proceeding, make sure you are familiar with the following articles: Setting Up SuperTrack for Proof Senders and Sending a proof and applying text changes with Pro Text.

Step 1.

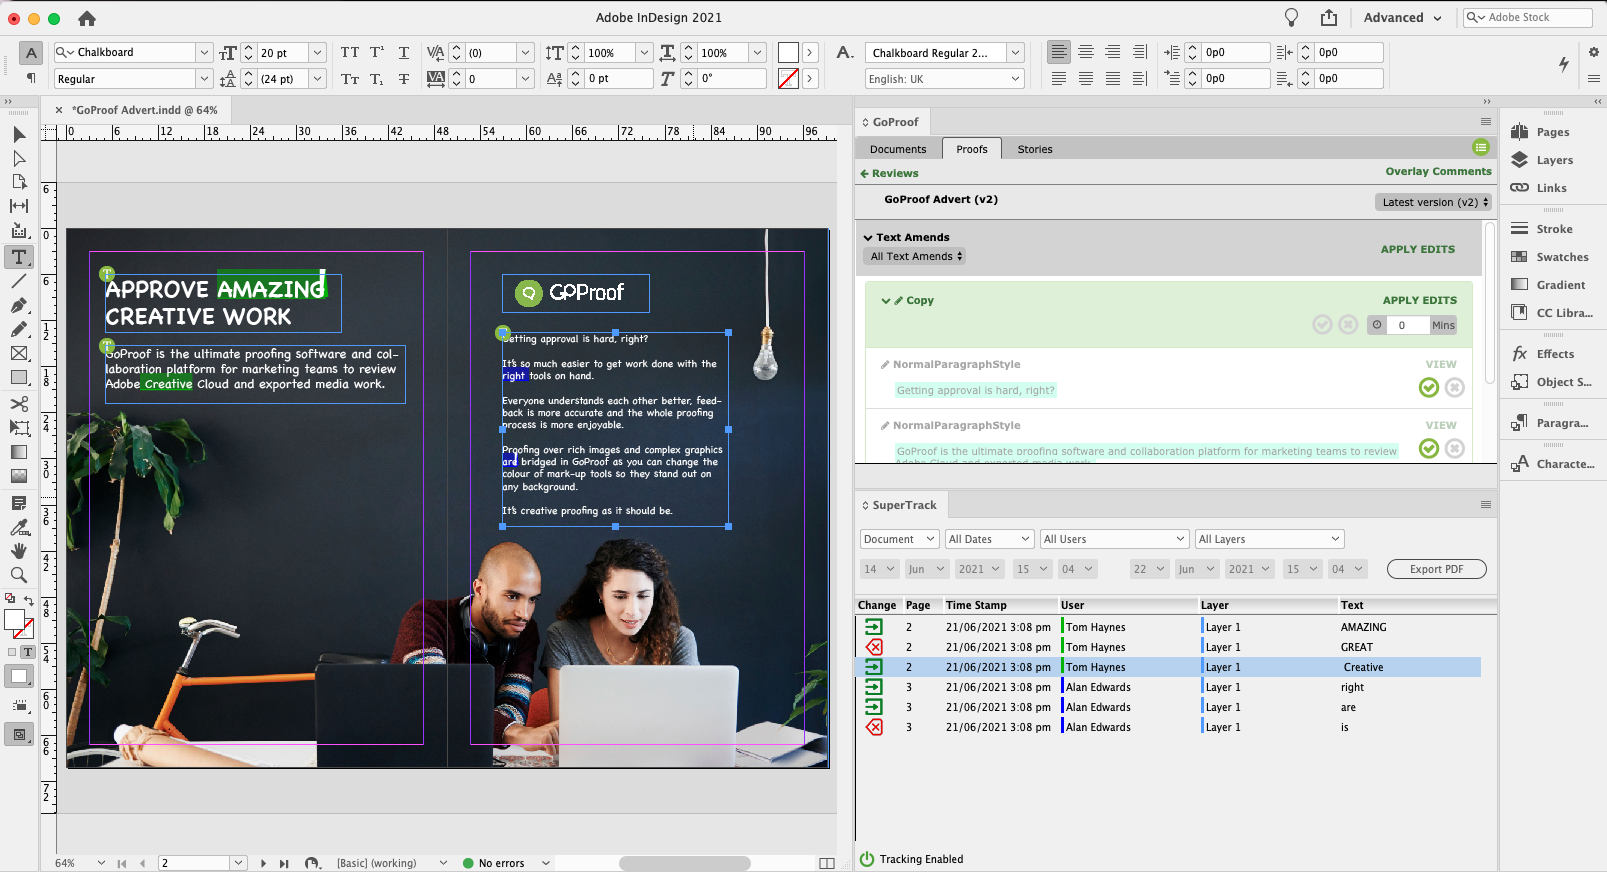
Apply all the text changes suggested by your Collaborators to the document via the GoProof extension.

Step 2.

Check the SuperTrack panel and you should see all of the changes you have applied to the document listed there.

  • The change marker for new/replaced and deleted text.
  • The time stamp for when you applied the text changes into the document.
  • The name of the user who suggested those text changes.
  • The document layer where those text changes are located.
  • The text changes itself.

Step 3.

You should see the applied text changes in the document. Depending on your SuperTrack preferences, you should see the change markups with its corresponding user colour.

Step 4.

Use the dropdown options in the SuperTrack panel to view the tracked changes based on your selected filters.

Step 5.

To export your document as PDF with the applied changes, click on the Export PDF button. Depending on your SuperTrack preferences, you should see the change markups and comments in the PDF as well.
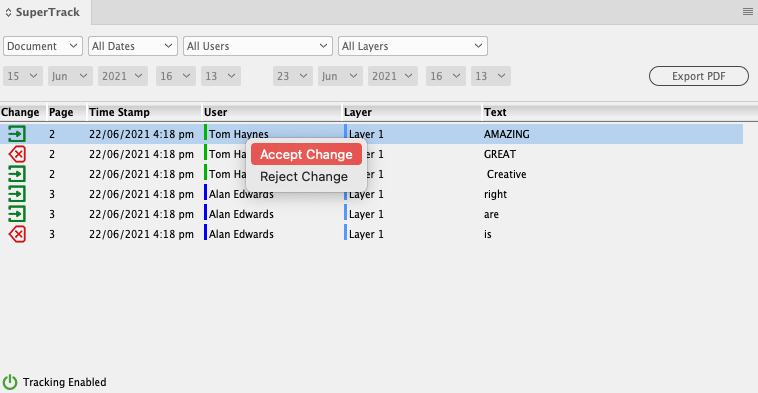
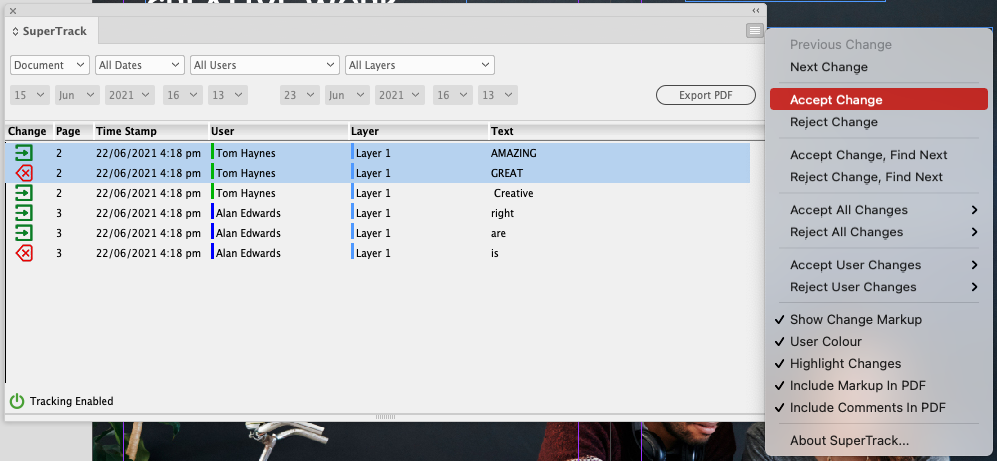
Step 6.

To accept or reject the tracked changes, select the change in the panel and right-click to bring out the context menu. Alternatively, use the options in the burger menu.

By clicking “Accept”, you agree to the storing of cookies on your device to enhance site navigation, analyze site usage, and assist in our marketing efforts. View our Privacy Policy for more information.
Cookie preferences