
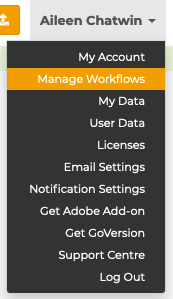
1. As the Admin user, log in to your account on the web, click on the Profile Menu and select Manage Workflows.
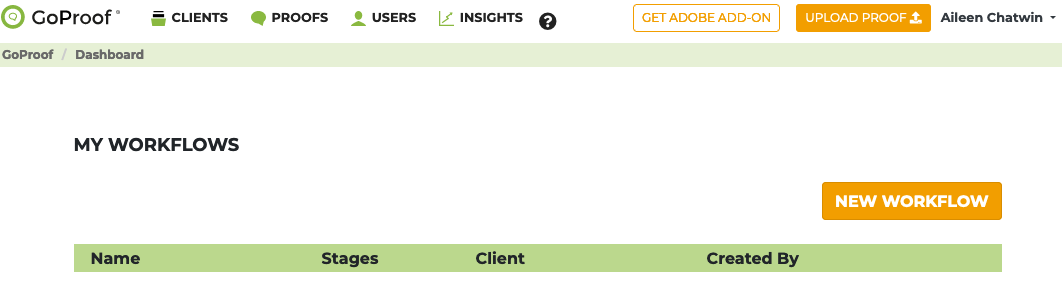
2. You will be redirected to the My Workflows page. Click on the New Workflow button to create a custom workflow.
3. Enter your Workflow Name and the Client where you wish the customised workflow to be available for your proof senders.
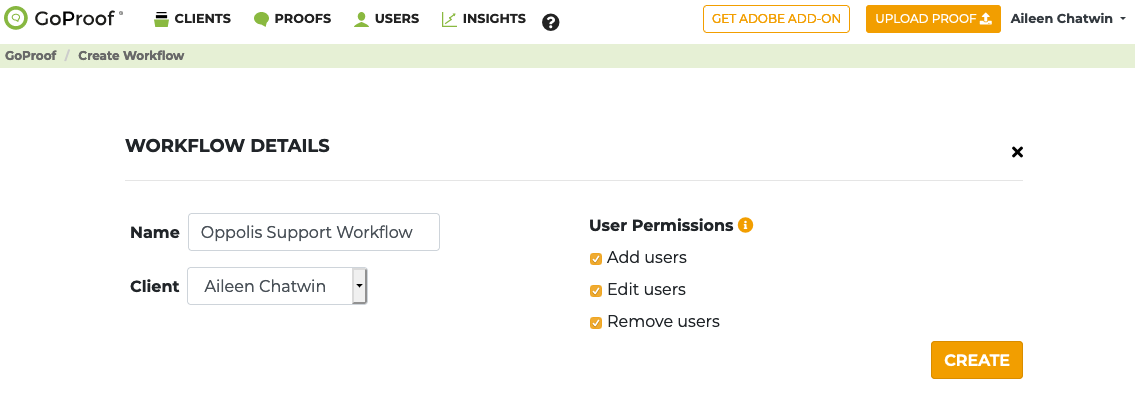
Note: The User Permissions allows you to choose whether the Proof senders and the Gatekeepers can add, edit or delete collaborators from the proof. Proof senders can do this when selecting the created workflow in the proof sending process while the Gatekeepers are only permitted to do this while the proof is in review and for collaborators in their own stage.
4. Click the Create button to start creating your workflow. A default stage will be created which you can edit or remove.
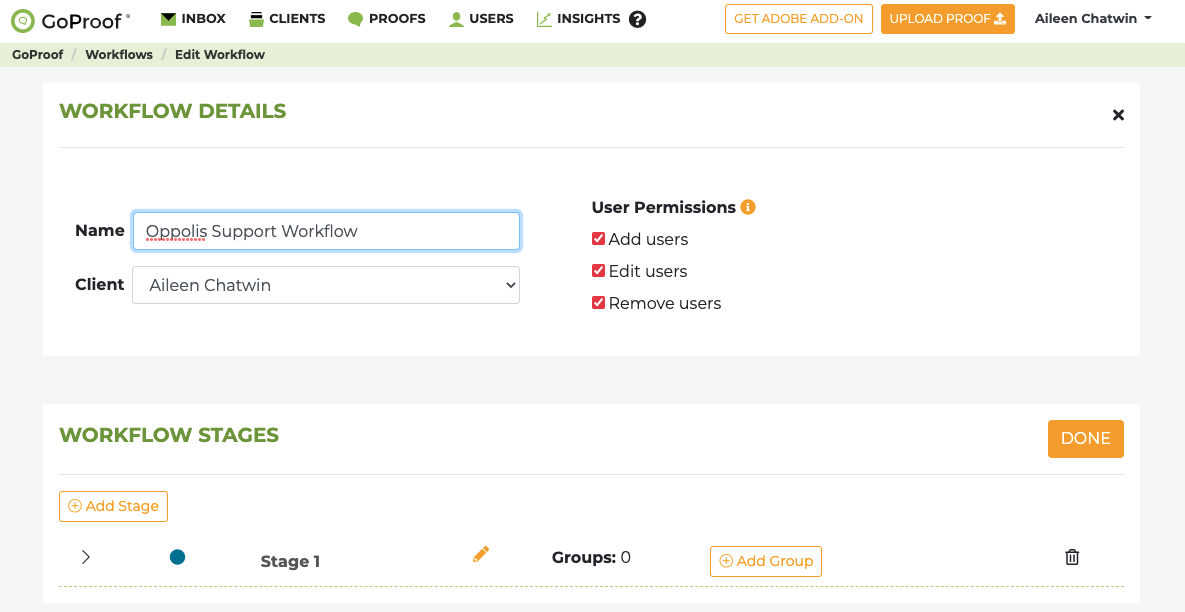
1. Click on the stage's colour icon to change the colour identifier for your stages.
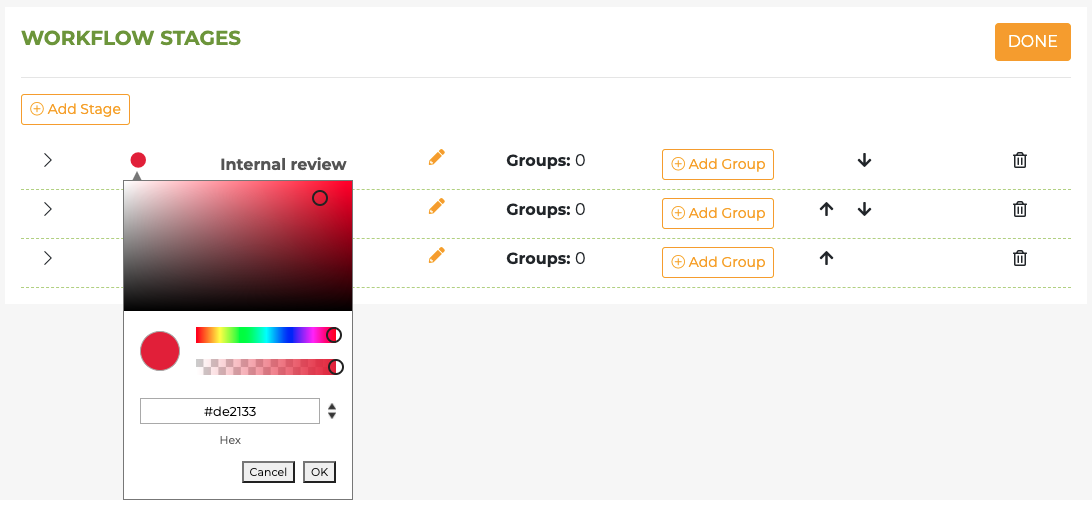
2. Add more stages by clicking on the Add stage button and click on the pencil icon on each stages to change their names.
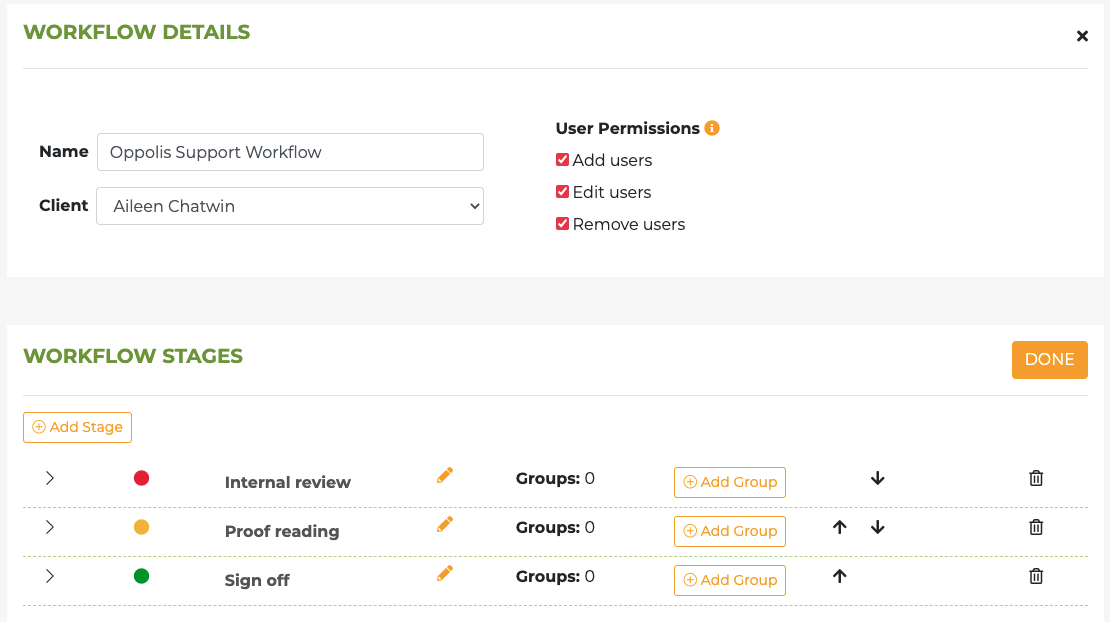
Pro tip: Use the Up and Down arrows should you need to rearrange the order of your stages or use the Bin icon if you need to delete a stage.
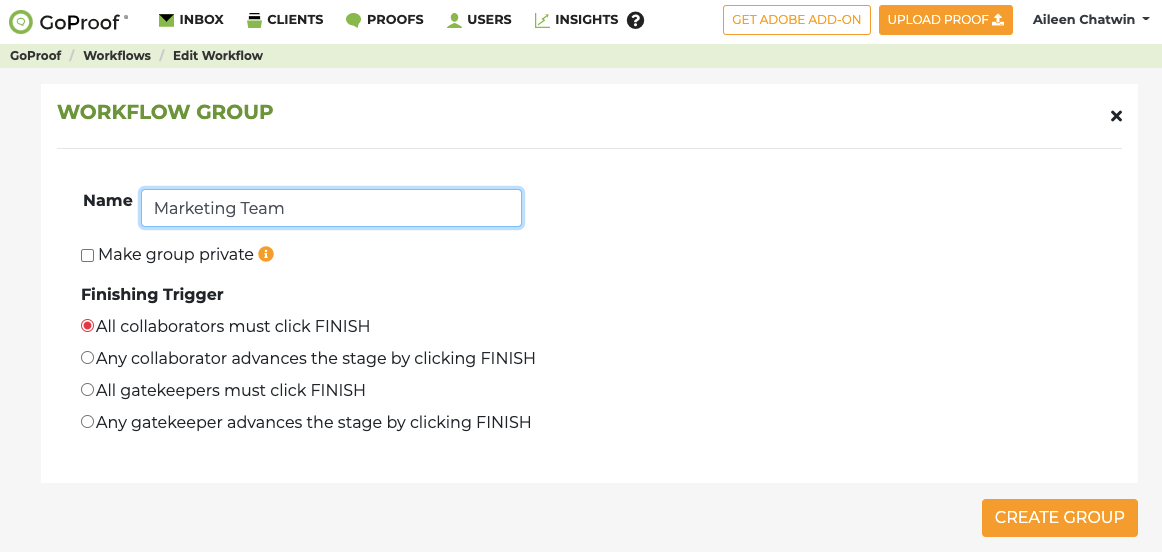
1. To add the collaborators to the custom workflow stages, you will need to create at least one group for that stage by clicking on the Add Group button.
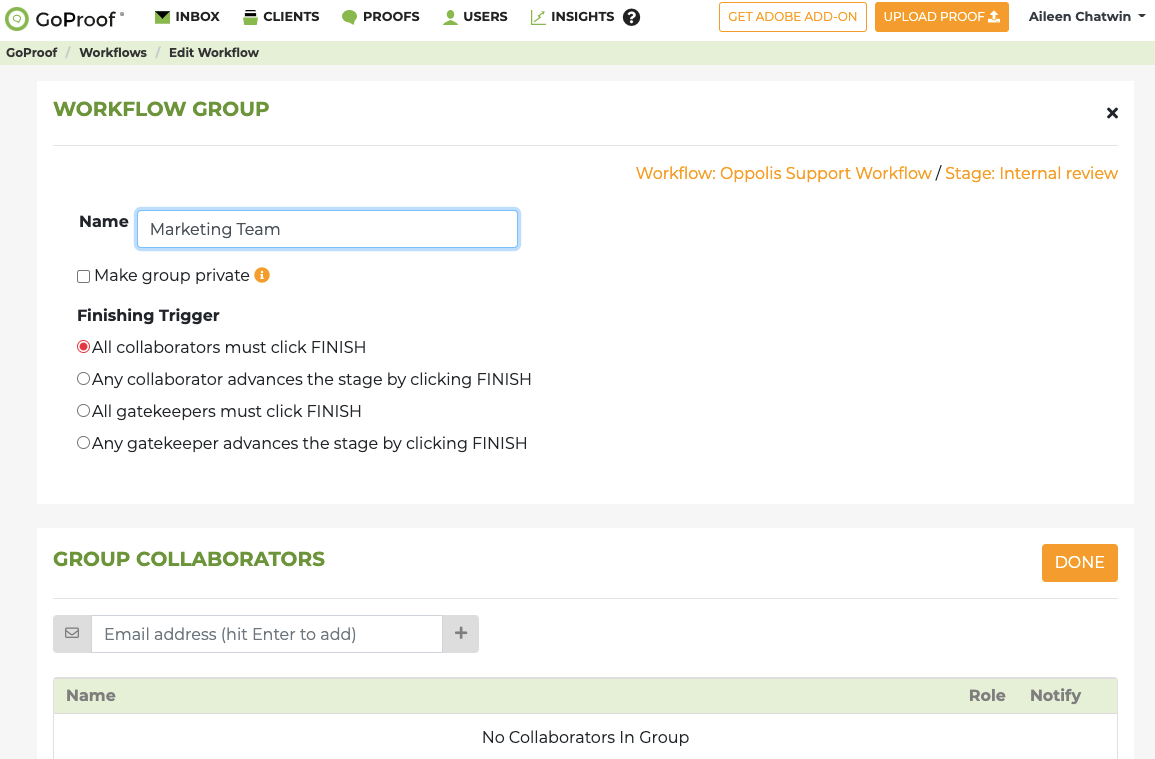
2. Enter your Workflow Group Name and click the Create Group button.
Click Done to confirm all the changes you have made for the workflow stage.
Pro tip: You will need to add at least one gatekeeper on the last stage of your workflow template. Since it is the last stage, there is no next stage to move the proof to. The main action for the Gatekeeper(s) is to either click on the Request changes button or to click on the Sign off button to end the review round.
1. Under the Group Collaborators section, type in the email address of the collaborator in the field provided and hit Enter on your keyboard or click on the + icon. The Add User window should appear.
2. Enter their User Name, the optional contact numbers and click Save to confirm.
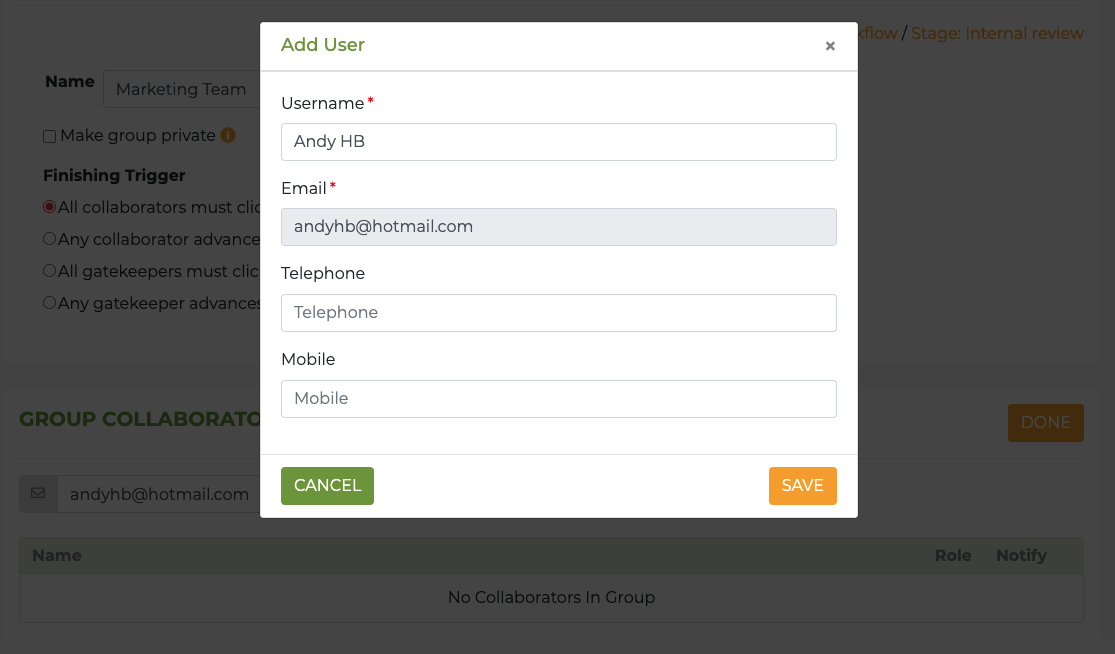
Note: If the User already exist in the same Client where this Workflow template has been assigned, a dropdown list just below the Email field should appear for you to select the existing user. If the user exists but in a different Client, he will not be in the dropdown list to select but will appear automatically in the dropdown list after you hit the Enter key.
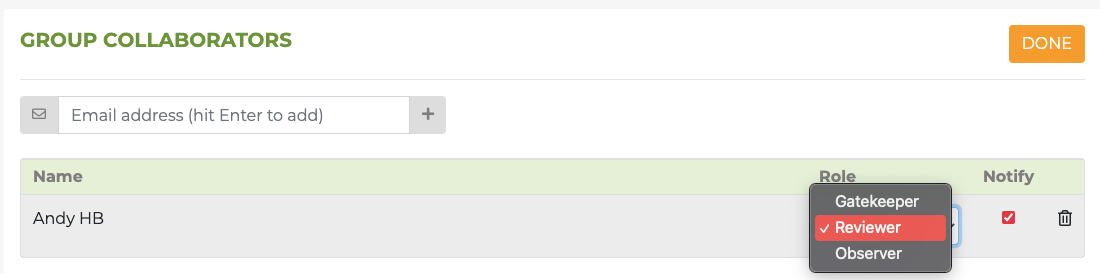
3. To change the Role of the user or to enable\disable the Notify setting for the user on this stage, use the dropdown menu and the checkbox options, respectively. To remove the user for this stage, use the Bin icon.
That's it! You have now created your custom workflow template.